Getting Started
Biowatch is available for Windows, macOS, and Linux. Download the latest release for your platform below.
Download
Windows
- Download
Biowatch-setup.exe - Run the installer
- Follow the installation wizard
- Launch Biowatch from the Start menu or desktop shortcut
macOS
- Download
Biowatch.dmg - Open the disk image
- Drag Biowatch to the Applications folder
- On first launch, right-click and select "Open" (required for apps from identified developers)
Linux
AppImage
- Download
Biowatch.AppImage - Make it executable:
chmod +x Biowatch.AppImage - Run:
./Biowatch.AppImage
Debian / Ubuntu
- Download
Biowatch_<version>_amd64.deb - Install:
sudo dpkg -i Biowatch_*.deb
Your First Study in Two Minutes
The fastest way to get a feel for Biowatch is the built-in demo dataset — a sample study based on Snapshot Kruger, with camera trap images from Kruger National Park, South Africa.
On first launch, Biowatch greets you with the Create Your First Study screen:
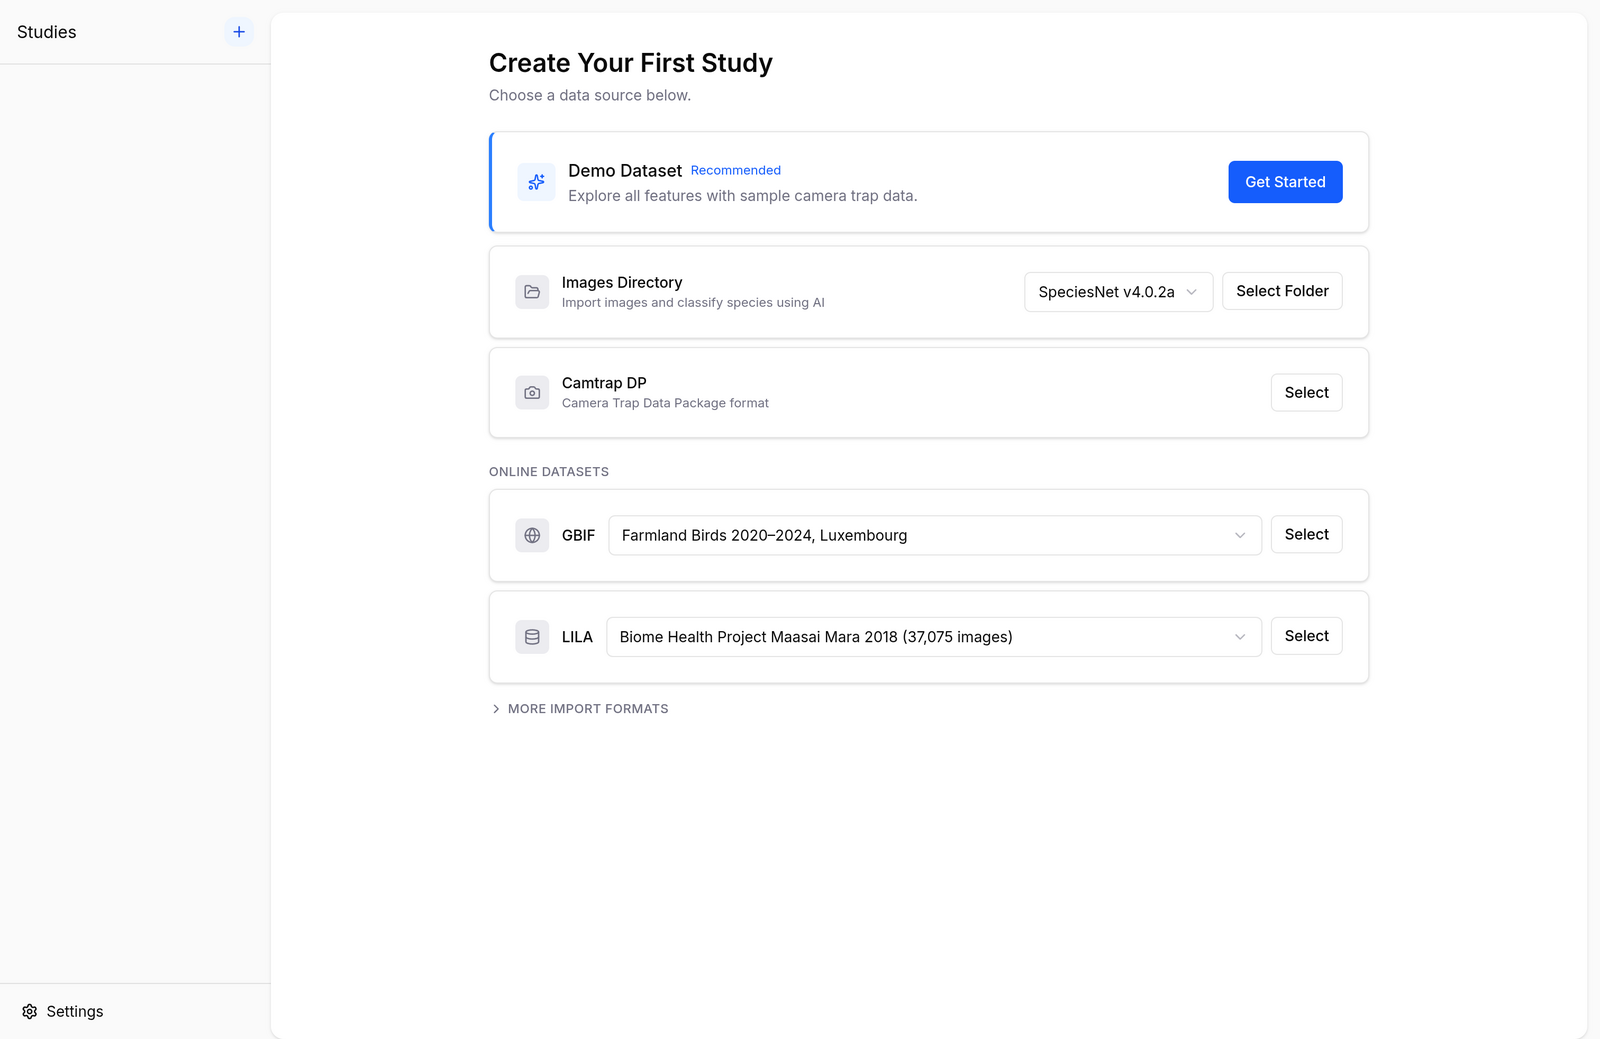
- Click Get Started on the Demo Dataset card.
- Biowatch downloads the sample data and builds the study — this takes under a minute on a typical connection.
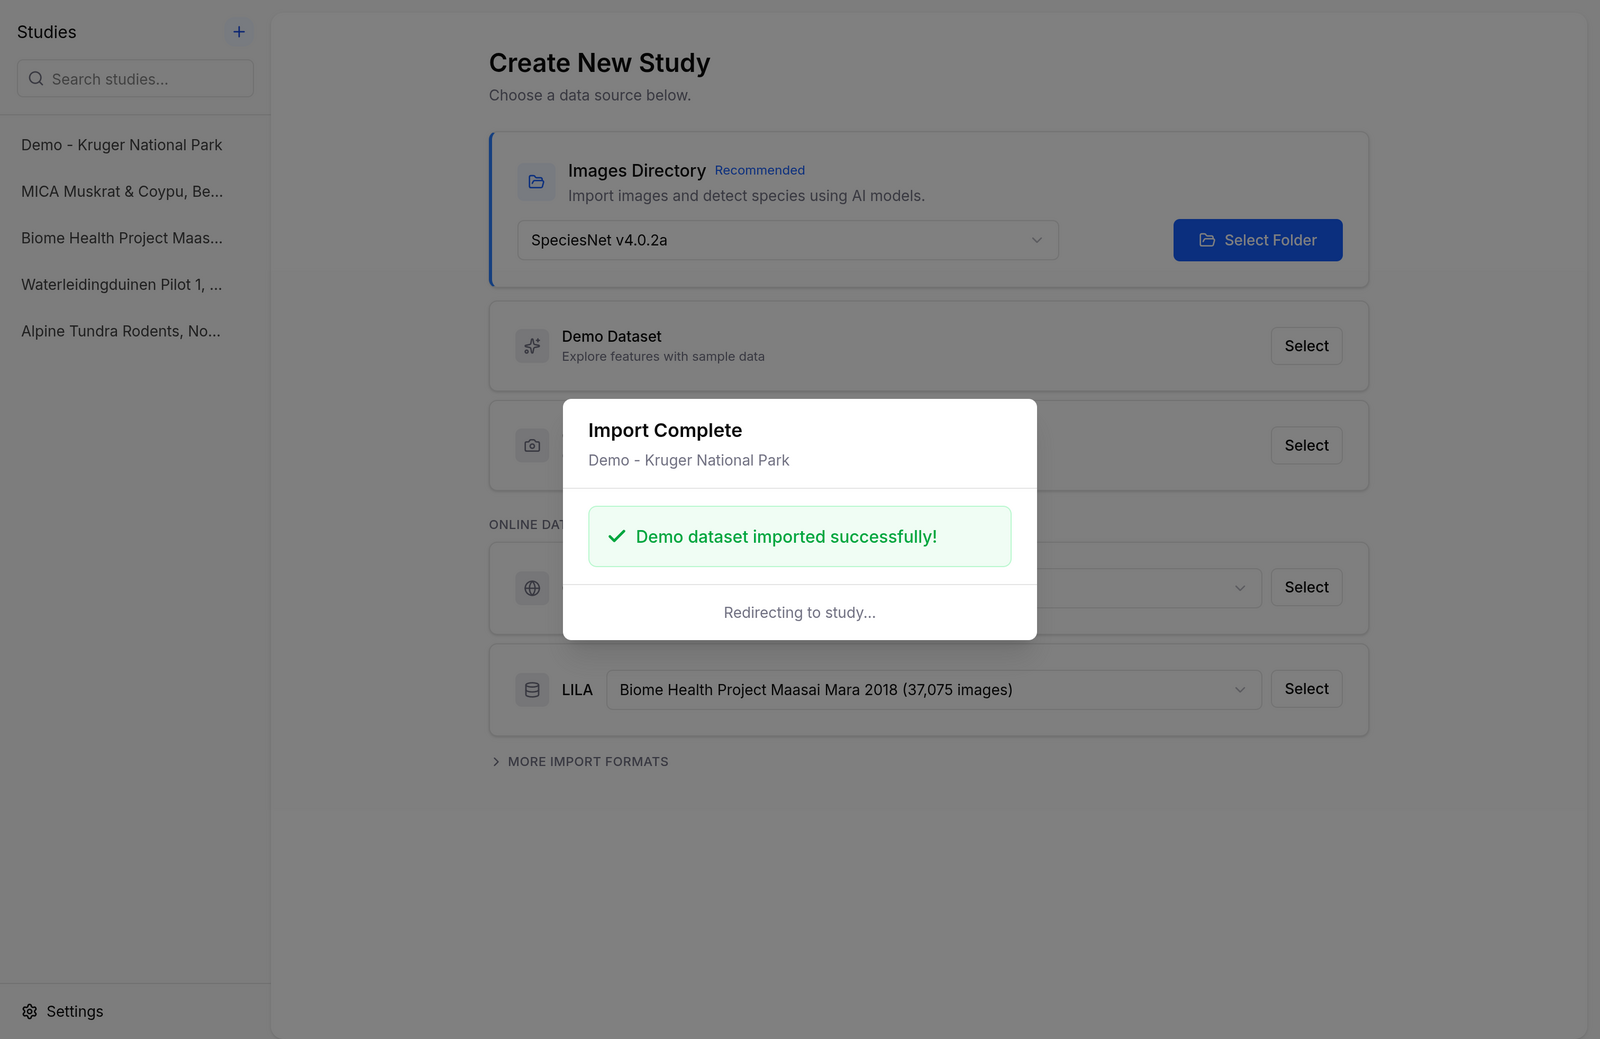
When the import finishes you land on the study's Overview tab: a satellite map of camera locations, headline numbers (species, deployments, time span, observations, media), a strip of best captures, and the species distribution with IUCN conservation status.
From there, each tab digs deeper:
- Overview — the study at a glance
- Explore — interactive map, activity patterns, and a filterable image gallery
- Media — browse and filter every image and video
- Deployments — when and where each camera was active
- Sources — where the study's media comes from
- Settings — sequence grouping, exports, cache, and study deletion
The Exploring Your Data guide walks through each tab in detail. When you're ready to work with your own data, head to Importing Data.